As an Amazon Associate I earn from qualifying purchases.
If you’ve ever found yourself wondering how many whistle for rice in pressure cooker, you’re not alone. It’s one of the most common questions home cooks have—especially if you’re new to pressure cooking or transitioning from stovetop to electric models. Understanding the “whistle system” is the first step to mastering perfectly fluffy rice every single time.
What Exactly Is a “Whistle” in a Pressure Cooker?
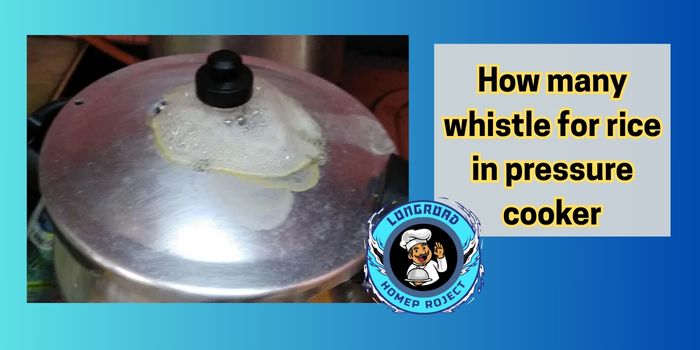
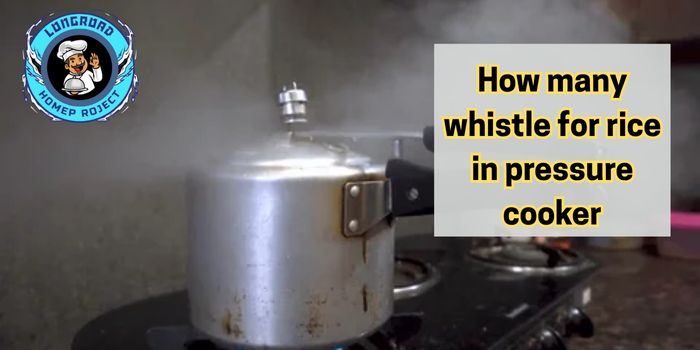
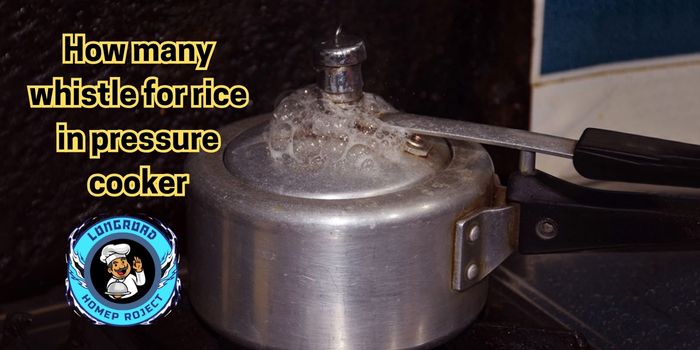
In traditional stovetop pressure cookers, the term “whistle” refers to the audible steam release sound that occurs when pressure builds up and escapes through the weighted pressure regulator. Each whistle typically represents one cycle of the cooker reaching its optimal pressure, then releasing a bit of steam to maintain that level. Think of it like a built-in timer—only instead of ticking, it hisses.
So, when someone says “cook it for 2 whistles,” they’re referring to two full pressure cycles. These are not just noise—they’re visual and auditory cues that help determine cooking duration and doneness, especially in kitchens where timers are often ignored or unavailable.
How Whistles Correspond to Time and Temperature
Each whistle generally equates to about 2 to 3 minutes of high-pressure cooking, depending on the heat source, cooker size, and what’s inside. But this isn’t exact science—variations in stove power and ingredient density can change the duration slightly.
For example:
- 1 whistle = ~2–3 minutes at high pressure
- 2 whistles = ~5 minutes
- 3 whistles = ~7–8 minutes
These estimates help you gauge the overall cooking time without needing a digital clock. That’s why in South Asian, African, and even some European households, cooking “by whistle” remains a time-honored method passed down through generations.
Types of Pressure Cookers and Their Whistle Behavior
Not all pressure cookers “whistle.” The classic Indian-style aluminum cookers are known for their rhythmic steam bursts. But in Western kitchens, modern electric pressure cookers like the Instant Pot or Ninja Foodi don’t make the same noise. Instead, they have digital timers and pressure sensors. That doesn’t mean you can’t apply the same logic—just in a modified way.
Here’s a quick comparison:
| Pressure Cooker Type | Whistle Mechanism | Time Control |
|---|---|---|
| Stovetop (Aluminum/Steel) | Audible whistles via steam vent | Manual timing + whistles |
| Electric (e.g., Instant Pot) | No whistle, uses digital control | Precise timer + pressure |
| Multicookers with Pressure Mode | No whistle, visual alerts only | Digital timing + beeps |
So, if your recipe calls for “3 whistles,” and you’re using an electric cooker, you’ll want to translate that into minutes under pressure, not sound.
How Many Whistles Are Needed to Cook Different Types of Rice?
When it comes to cooking rice in a pressure cooker, one size doesn’t fit all. Different rice varieties require different cooking times, and that’s where the pressure cooker whistle becomes your best friend. If you’ve ever asked yourself how many whistles for rice in pressure cooker, the answer depends on the type of rice, amount of water, and even the brand you’re using.
Let’s break it down variety by variety:
White Rice: 1 to 2 Whistles
White rice is one of the quickest to cook in a pressure cooker.
- For soft and fluffy grains, 1 whistle on medium-high heat is often enough, especially if you let it rest after turning off the heat.
- For softer, mushier texture (like for khichdi or congee), 2 whistles may be better.
Water Ratio Tip: Use 1:2 (1 cup rice to 2 cups water).
Basmati Rice: 1 to 2 Whistles
Basmati is delicate, aromatic, and cooks quickly.
- For long, separate grains, use 1 whistle and let it depressurize naturally.
- 2 whistles work if you’re adding more water for a softer result.
Pro Tip: Soak basmati rice for 20–30 minutes before pressure cooking for the best texture.
Brown Rice: 3 to 4 Whistles
Brown rice takes longer due to its bran layer.
- Start with 3 whistles and let the pressure release naturally.
- For tougher grains or larger batches, go up to 4 whistles.
Water Ratio: Use 1:2.5 or even 1:3 depending on the grain size.
Jasmine Rice: 1 to 2 Whistles
Jasmine rice behaves similarly to white rice, but it’s more fragrant.
- Use 1 whistle for slightly firm grains.
- Use 2 whistles for a tender, steamed finish.
Avoid overcooking—Jasmine rice can turn sticky quickly under pressure.
Bonus: Tips for Adjusting Whistles
Cooking rice isn’t an exact science—but it can be! Here are smart tips to dial in the perfect number of whistles:
- Rice Quantity: More rice = slightly more cooking time (1 extra whistle for every 1.5 cups after the first).
- Rice Brand: Some brands absorb water differently. Always test new brands once with a small batch.
- Altitude: Higher elevations may require extra cooking time or whistles due to lower atmospheric pressure.
- Soaking Time: Pre-soaked rice may need fewer whistles, especially for basmati or jasmine.
Whether you’re meal prepping or serving a quick weeknight dinner, understanding the whistle system helps you avoid overcooked mush or undercooked cores. The key? Start with the base recommendation and tweak by experience.

How Long Does One Whistle Last in Minutes?
If you’re new to pressure cooking, you’ve probably asked: “How many minutes is one whistle?” It’s a great question — because knowing how long one whistle lasts helps you turn vague cooking advice into something much more precise.
Let’s break it down.
Average Duration of One Whistle
In most stovetop pressure cookers, a single whistle typically lasts between 1 to 2 minutes. This depends on:
- Cooker type (traditional vs modern)
- Stove heat (low, medium, or high)
- Pressure build-up speed
💡 Quick Note: Some cookers make long, hissing whistles, while others make short bursts—both are valid.
Converting Whistles to Cooking Minutes
Here’s a helpful conversion estimate for medium heat on a gas stove:
| 🔔 Whistles | ⏱ Approx. Cooking Time |
|---|---|
| 1 Whistle | 1.5–2 minutes |
| 2 Whistles | 3–4 minutes |
| 3 Whistles | 5–6 minutes |
| 4 Whistles | 7–8 minutes |
This gives you a ballpark estimate, especially if you’re switching to electric pressure cookers or instant pots where whistles aren’t used. In those cases, use the time equivalent instead.
How Stove Heat Affects Whistle Timing
Heat level plays a major role in how fast your cooker whistles:
- High Heat: Builds pressure faster, so the first whistle may come within 4–5 minutes.
- Medium Heat: More controlled build-up — ideal for most rice cooking.
- Low Heat: May take longer to reach pressure, and may not whistle audibly at all.
Best Practice: Start on high heat until the first whistle, then reduce to low or medium heat and count remaining whistles.
Guide to Cooking Rice Using Whistles
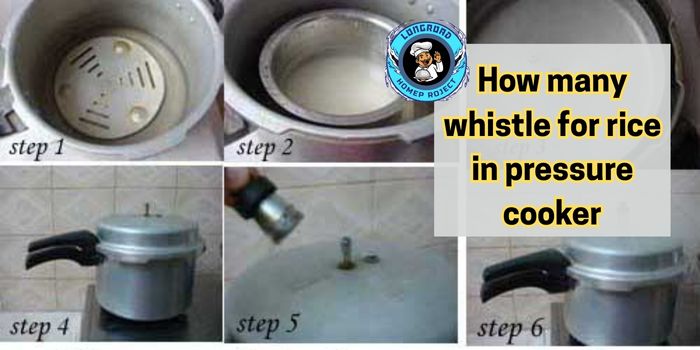
Cooking rice in a pressure cooker might seem intimidating at first, but once you get the hang of the “whistle system,” it becomes second nature. Below is a simple, step-by-step method that works for most types of rice.
Whether you’re cooking white, basmati, or brown rice — these steps will guide you to fluffy, perfectly cooked grains every time.
Measure Rice and Water Ratio
The first and most important step: get the rice-to-water ratio right.
- White or basmati rice: 1 cup rice : 1.5 to 2 cups water
- Brown rice: 1 cup rice : 2.5 to 3 cups water
- Jasmine rice: 1 cup rice : 1.5 cups water
💡 Tip: Rinse your rice 2–3 times before cooking to remove excess starch and prevent it from becoming sticky.
Set Up the Pressure Cooker
Here’s what to do before you turn on the heat:
- Add the rinsed rice and measured water to the pressure cooker
- Optionally add a pinch of salt, a few drops of oil, or ghee for added flavor
- Secure the lid tightly and make sure the whistle valve is in place
🛑 Double-check the rubber ring and safety valve for a proper seal.
Cooking Process: Counting Whistles and Turning Off Heat
Now comes the main part — counting the whistles.
- Start cooking on high heat
- Wait for the first whistle (usually 4–6 minutes)
- Then reduce the heat to low or medium
- Allow 1–3 more whistles, depending on the rice type:
- 1–2 whistles for white or basmati
- 3–4 whistles for brown rice
After the final whistle, turn off the heat.
🕰 You don’t need to stand over the cooker the entire time — just stay nearby to hear each whistle.
Natural Pressure Release vs Quick Release
Once the heat is turned off, you have two options for releasing pressure:
Natural Release (Recommended for Rice):
Let the pressure release on its own, which takes about 8–12 minutes. This prevents mushy or broken rice grains.
Quick Release (Use with Caution):
You can carefully lift the pressure valve or place the cooker under running water to release steam instantly — but this may affect rice texture.

Tips to Perfect Pressure Cooker Rice Every Time
Cooking rice in a pressure cooker is quick and convenient—but it’s also easy to get wrong if you miss a few key details. Below are tried-and-true tips to help you cook fluffy, non-sticky rice using the whistle method—regardless of the rice type or pressure cooker brand.
Get the Water-to-Rice Ratio Right
The most common reason for soggy or undercooked rice is using the wrong amount of water.
- White or basmati rice: 1 cup rice to 1.5–2 cups water
- Brown rice: 1 cup rice to 2.5–3 cups water
- Jasmine rice: 1 cup rice to 1.25–1.5 cups water
Too much water = sticky rice
Too little water = hard or unevenly cooked grains
💡 Tip: Use slightly less water if you soak your rice beforehand.
Adjust Whistles Based on Your Cooker & Location
Not all pressure cookers are the same. Some produce louder, quicker whistles, while others take longer to build pressure.
Also, altitude matters:
- At high altitudes, water boils at a lower temperature, so you may need 1 extra whistle for the same doneness.
▶ Rule of thumb:
- Newer models may cook faster (fewer whistles)
- Stove type (gas vs induction) also affects cooking time
📌 Always test your setup with small batches first.
Soaking Rice Saves Time (and Whistles)
Soaking rice for 15–30 minutes before pressure cooking:
- Reduces cooking time
- Softens grains
- Helps with even cooking
For brown rice, soaking for 1 hour or more is ideal.
💬 “I soak basmati for 20 minutes and only need 1 whistle—comes out perfectly fluffy every time.”
Avoid These Common Mistakes
Even experienced home cooks make these errors—avoid them for consistent results:
❌ Overcooking – Too many whistles will turn rice mushy
❌ Undercooking – Turning off the heat too early
❌ Not sealing the lid properly – Leads to lost pressure and undercooked rice
❌ Opening the lid too early – Always wait until pressure drops fully
✅ Use natural pressure release for best texture, especially for delicate or aromatic rice types.
Bonus Tip: Keep Notes
If you frequently cook different rice types, keep a small “whistle diary” to track:
- Rice brand
- Amount used
- Water ratio
- Number of whistles
- Final texture
This helps you refine the perfect combo for your specific setup.
Mastering rice in a pressure cooker is all about precision, observation, and a few smart tweaks. Once you get the rhythm of water, whistles, and timing, you’ll never second-guess your rice again.

Troubleshooting: Rice Not Cooking Right?
Even with the right water and whistle count, things can still go wrong. If your rice turns out too mushy, too dry, or just not how you expected, don’t worry—it’s fixable. Here’s how to troubleshoot common pressure cooker rice problems like a pro.
Rice Too Mushy or Sticky?
This usually means:
- You added too much water
- You used too many whistles
- You didn’t rinse the rice well before cooking
What to do next time:
- Cut back on water by ¼ cup
- Reduce the whistle count by 1
- Rinse rice 2–3 times to remove excess starch
💡 Tip: For delicate varieties like basmati or jasmine, even a small water adjustment can make a big difference.
Rice Undercooked? Add More Whistles
If your rice is hard or partially raw:
- You likely didn’t give it enough time or pressure
- Or your stove was on too low a flame
How to fix it:
- Add a splash of water (2–3 tbsp)
- Close the lid again
- Cook for 1 more whistle
- Let it naturally release pressure
📌 Always let the pressure release naturally when correcting undercooked rice—it gives the grains time to finish cooking.
Stove Heat Matters More Than You Think
Gas stoves, induction cooktops, and electric stoves all transfer heat differently. If your stove flame is too low, it might not build pressure fast enough for the whistle count to reflect actual cooking time.
✅ Medium-high heat is usually the sweet spot
❌ Avoid cooking on very high heat—it can over-pressurize and make the rice gummy
“I used to get mushy rice until I turned the heat down after the first whistle—now it’s perfect every time.”
Check Your Pressure Cooker Valve
A stuck or clogged valve will:
- Prevent proper pressure buildup
- Delay or stop whistling altogether
- Lead to undercooked or uneven rice
Maintenance checklist:
- Remove and clean the valve after every few uses
- Make sure the rubber gasket is not cracked or loose
- Check the steam vent for blockages (rice grains can get lodged there)
🔧 Cleaning your cooker regularly ensures consistent whistle timing and better rice results.
FAQs
How many whistles do you need to cook white rice in a pressure cooker?
✅ 1 to 2 whistles are typically enough to cook white rice, depending on the rice variety and quantity used.
What does 2 whistles mean when cooking rice?
✅ 2 whistles usually mean about 3 to 4 minutes of cooking under full pressure, after the first whistle releases steam.
How many whistles to cook basmati rice?
✅ For basmati rice, 1 to 2 whistles are recommended to keep it light, fluffy, and perfectly cooked.
How long is 1 whistle in minutes?
✅ One whistle generally lasts 1.5 to 2 minutes, though it can vary based on your pressure cooker and stove heat.
Can I cook rice with more or fewer whistles?
✅ Yes—fewer whistles for softer rice types or small quantities; more whistles for harder grains or large batches.
What if my rice is undercooked after 2 whistles?
✅ Just add a little water and return it to the stove for 1 more whistle, then let it release pressure naturally.
Should I soak rice before pressure cooking?
✅ Soaking helps certain types like brown or basmati rice cook more evenly and may reduce the number of whistles needed.
Does altitude affect how many whistles rice needs?
✅ Yes—higher altitudes may require 1 extra whistle or slightly longer cooking time due to lower boiling points.
Is there a difference between gas and induction cooking with whistles?
✅ Gas stoves heat up faster, which may cause quicker whistles, while induction heat is more stable but might delay whistle timing slightly.
Conclusion
So, how many whistles for rice in a pressure cooker? The answer isn’t one-size-fits-all—it depends on the type of rice, your specific pressure cooker, and even your kitchen setup.
- White rice and basmati? Start with 1 to 2 whistles.
- Brown rice? You’ll need 3 to 4 whistles for that hearty bite.
- Jasmine or aromatic rices? Usually 1 to 2 whistles will do the trick.
The more you cook, the better you’ll get at finding your perfect whistle rhythm. Everyone’s taste and texture preference is different, so don’t be afraid to experiment and adjust.
Now it’s your turn:
Try cooking your favorite rice using the whistle method and see how it turns out. Did you get the texture just right? Too mushy? Still a little chewy? Keep testing—it only gets better.
As an Amazon Associate I earn from qualifying purchases.
