As an Amazon Associate I earn from qualifying purchases.
If your microwave smells funky or steams up your kitchen, it may be time to replace your charcoal filter. For many Samsung microwave owners, the charcoal filter plays a crucial behind-the-scenes role. It’s responsible for absorbing smoke, grease, and lingering food odors—especially in models that don’t vent air outside. Whether you’re cooking bacon, reheating curry, or making popcorn, that little filter keeps your kitchen smelling clean and breathable.
But here’s the thing—charcoal filters don’t last forever. Over time, they get clogged and lose their ability to purify the air effectively. If left unchanged, a dirty or worn-out filter can lead to poor airflow, musty smells, and even reduced microwave performance.
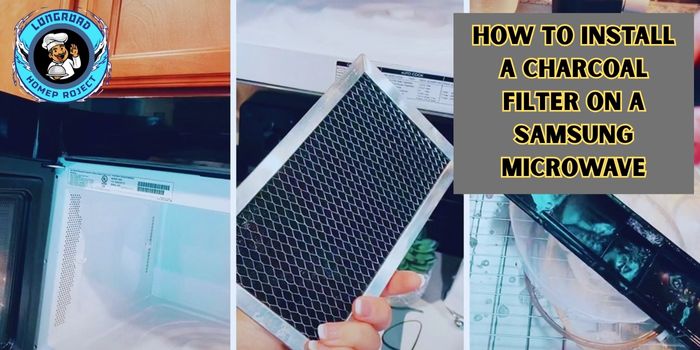
This step-by-step guide will show you how to install a charcoal filter on a Samsung microwave, even if you’ve never done it before. We’ll cover:
- Why these filters matter more than you think
- How to find and identify the correct filter
- A full walkthrough for popular models like the Samsung ME19R7041FS
- Pro tips for keeping your microwave running clean and quiet
- How to clean or replace your filter safely
Does Your Samsung Microwave Use a Charcoal Filter?
Before diving into installation, let’s answer a key question: Does your Samsung microwave even use a charcoal filter? Not all models do. Charcoal filters are primarily used in over-the-range (OTR) microwaves that recirculate air back into the kitchen instead of venting it outside.
Here’s how to check if yours has one:
✅ Look in Your User Manual
The quickest way to confirm is to check your microwave’s manual. If your model includes a charcoal filter, the manual will list it under the maintenance or parts section. It might also include replacement part numbers and cleaning recommendations.
✅ Find the Model Number
Every Samsung microwave has a model number—usually located inside the door frame or on the back panel. Once you’ve got it, search for “[Your Model Number] charcoal filter” on Samsung’s official website or a reputable appliance parts site.
Example:
If you own the Samsung ME19R7041FS, yes—it definitely uses a charcoal filter.
✅ Check How It Vents
Stand in front of your microwave while it’s running and feel above the door.
- If hot air blows out the top front vent, your unit recirculates air and uses a charcoal filter.
- If it’s ducted outside (typically through cabinetry), then a charcoal filter is usually not required.
Tip:
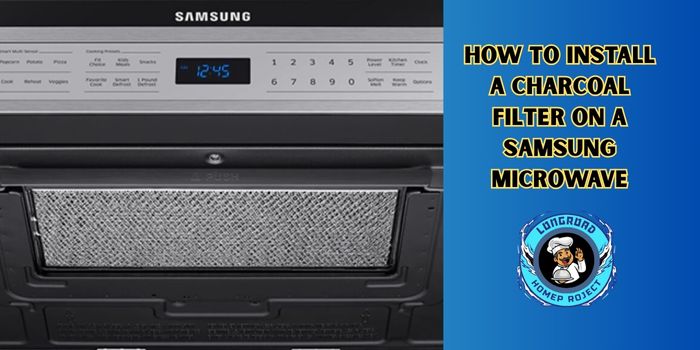
Still not sure? Look for a removable rectangular grille on the top front of the microwave. Behind that, you’ll often find the charcoal filter clipped in behind a metal or plastic panel.

Tools You’ll Need for Installation
Installing a charcoal filter in your Samsung microwave is a quick DIY task—but having the right tools on hand will make it smooth and stress-free.
Here’s what you’ll need:
Phillips Screwdriver
Most Samsung microwaves use Phillips-head screws to hold the top vent grille in place. A basic screwdriver from your home toolkit will do the job.
Damp Cloth
While the grille is off, take a moment to wipe away any built-up grease or dust around the vent area. It’s a small step that can make a big difference in airflow.
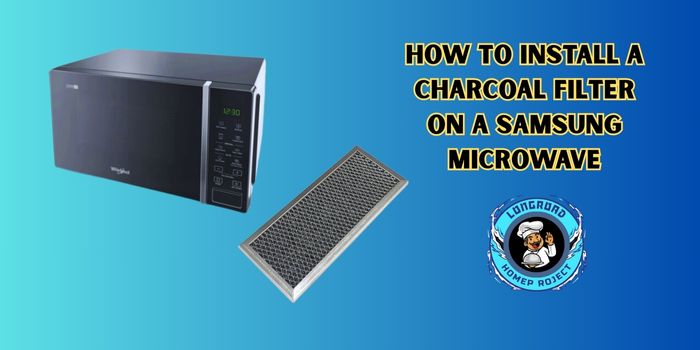
New Charcoal Filter
Make sure you’ve purchased the correct charcoal filter for your model. Using the wrong type could affect performance or not fit at all.
Optional but Helpful
- Flashlight – Great for seeing into tight or shadowed spaces inside the vent area.
- Gloves – Not required, but helpful if you prefer not to touch dusty components.
Pro Tip: If this is your first time replacing the filter, take a quick photo before removing anything. It’ll help you remember how everything fits back together.
How to Install Charcoal Filter on Samsung Microwave:
Unplug the Microwave
Before doing any work, unplug your microwave from the wall. It’s a small step, but an important one for your safety.
Open the Microwave Door
This gives you better access to the top panel where the grille is located.
Locate the Top Front Grille
Look at the top front of the microwave, right above the door. You should see a narrow grille held in place with two screws (usually on the top or side edges).
Remove the Grille Carefully
Use a Phillips screwdriver to remove the screws, then gently lift or slide the grille off. Set it aside somewhere clean.
Slide Out the Old Filter
Behind the grille, you’ll see the charcoal filter sitting in a slot or compartment.
- If there’s already a filter there, slide it out carefully.
- If it’s your first time replacing it, you may just see an empty slot.
Insert the New Charcoal Filter
Take your new charcoal filter (matched to your model) and slide it into the same spot.
Check for arrows or markings that show which direction it should face—some filters need to be oriented a specific way to work correctly.
Reattach the Grille
Position the grille back into place and line up the screw holes. Reinsert and tighten the screws firmly, but don’t overtighten.
Plug It Back In and Test
Plug your microwave back into the outlet.
To test the filter system, turn on the vent fan for a few seconds. You should feel clean air blowing out from the top vent.
Model Spotlight – Samsung ME19R7041FS Filter Installation
One of the most popular over-the-range models in Samsung’s lineup is the Samsung ME19R7041FS—and yes, it does use a charcoal filter.
If you own this model, replacing the filter is straightforward. Still, a few model-specific tips can make the process even smoother.
Where the Filter Is Located
In the ME19R7041FS, the charcoal filter is positioned behind the top front vent grille—just like most Samsung OTR microwaves.
You’ll find two Phillips screws securing the grille in place. Once the grille is removed, the filter slides into a horizontal slot near the center.
Tips for Proper Filter Installation
- Watch the fit: The filter should slide in smoothly—don’t force it. If it feels tight or crooked, check that it’s not upside down.
- Check direction: Some charcoal filters have arrows or text indicating airflow direction. Make sure it’s facing the right way for optimal performance.
- Clean before closing: Take a moment to wipe down the vent opening and surrounding area with a damp cloth before reattaching the grille. This keeps debris from blocking airflow.

Mistakes to Avoid
Replacing a charcoal filter is simple—but a few common missteps can cause frustration or reduce your microwave’s efficiency. Here’s what to watch out for:
Installing the Filter Backwards
Many charcoal filters have airflow arrows or labeled sides. Installing it the wrong way can reduce its effectiveness or even block airflow entirely. Always check for directional indicators before inserting.
Forgetting to Unplug the Microwave
It might seem harmless, but opening any part of an appliance while it’s plugged in is a safety risk. Always unplug your microwave first to avoid electric shock or accidental startup.
Confusing the Grease Filter with the Charcoal Filter
These two filters do different jobs:
- The grease filter is underneath the microwave and catches oil particles from below.
- The charcoal filter sits behind the top vent and removes odors from recirculated air.
Mixing them up or skipping one can lead to poor performance.
Using a Non-Compatible Filter
Not all charcoal filters are created equal. Using a generic or wrong-sized filter may cause it to rattle, block airflow, or simply not fit at all. Always use the filter designed for your specific Samsung model.
Forgetting to Clean the Vent Area
Dust, grease, and food particles can build up around the vent. Skipping a quick wipe-down before reinstalling the grille means you’re trapping that grime in. A clean vent equals better airflow and a fresher kitchen.

Do You Need a Charcoal Filter in Your Microwave?
This is a common question, especially for new homeowners or anyone installing a microwave for the first time: Do you actually need a charcoal filter in your Samsung microwave?
The short answer: It depends on how your microwave vents.
✅ If your microwave vents outside (via ductwork):
You likely do not need a charcoal filter. In this setup, odors, smoke, and moisture are vented directly out of your home, bypassing the need for filtration.
✅ If your microwave recirculates air back into the kitchen:
Then yes—you absolutely need a charcoal filter. These filters are designed to trap odors, smoke, and grease before the air is blown back into your cooking space.
What Happens If You Skip the Filter?
If you don’t install a charcoal filter in a recirculating system, you may start to notice:
- Persistent food odors that linger long after cooking
- Steam and moisture buildup, especially on walls or cabinets
- Grease particles settling around your kitchen, even if you use the fan
Over time, this can make your kitchen feel stuffy, lead to discoloration on nearby surfaces, and even affect the performance of your microwave.
How to Clean (or Replace) Samsung Microwave Filters
Your Samsung microwave actually uses two different types of filters, and they serve very different purposes. Keeping both in good condition is key to maintaining strong airflow, clean cooking, and odor control.
Grease Filters (Metal) – Cleanable
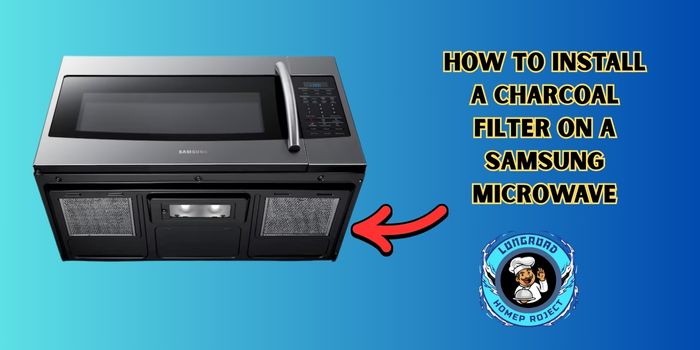
The grease filter is located on the underside of your microwave, directly above your stovetop. It catches oil and food particles rising from the cooktop.
Here’s how to clean it:
- Remove the metal filter by sliding or popping it out.
- Soak it in warm, soapy water or place it in the dishwasher.
- Let it dry completely before reinstalling.
📆 Clean every month if you cook frequently or fry foods often.
Charcoal Filters – Replace Only
The charcoal filter sits behind the upper vent grille and is designed to absorb odors, steam, and smoke from recirculated air.
Important: Charcoal filters cannot be washed or reused. Over time, they become saturated with grease and odors, and their effectiveness fades.
🔁 When to Replace Your Charcoal Filter
Most manufacturers (including Samsung) recommend replacing your charcoal filter every 6 to 12 months, depending on usage.
Here are some signs it’s time for a new one:
- 🍳 Lingering food smells after cooking
- 💨 Weaker vent fan performance
- 🔥 Filter looks dark, greasy, or clogged

FAQs
How to install charcoal filter on Samsung microwave ME19R7041FS?
✅ To install the charcoal filter on a Samsung ME19R7041FS, open the microwave door, remove the top front grille (usually held by two screws), slide the new charcoal filter into the slot behind the grille, and reattach the grille securely.
Is a charcoal filter necessary for Samsung microwaves?
✅ Yes—if your Samsung microwave recirculates air back into the kitchen, a charcoal filter is essential. It removes odors, smoke, and grease from the air before it’s released into your home.
How often should I replace my charcoal microwave filter?
✅ You should replace your charcoal filter every 6 to 12 months, depending on how frequently you cook. If you notice lingering odors or weak vent performance, it may be time to change it sooner.
Can I clean and reuse a charcoal filter?
✅ No—charcoal filters are not washable or reusable. Once they’re saturated with grease and odors, they must be replaced to maintain performance.
What’s the difference between a grease filter and a charcoal filter?
✅ Grease filters (metal, located underneath the microwave) trap oil and food particles and can be cleaned. Charcoal filters (behind the top grille) absorb odors and must be replaced regularly—they cannot be cleaned.
Conclusion
Now that you know how to install a charcoal filter on a Samsung microwave, you’ve unlocked one of the simplest ways to improve your kitchen’s air quality and your microwave’s performance. It’s a quick job that saves time, reduces unwanted odors, and keeps your appliance running efficiently.
By checking your filter every few months—and replacing it when needed—you can enjoy cleaner air, stronger fan power, and a fresher cooking experience, especially if your microwave vents back into the kitchen.
Taking a few minutes for routine maintenance means better meals, less mess, and a more comfortable kitchen. You’ve got this!
As an Amazon Associate I earn from qualifying purchases.
